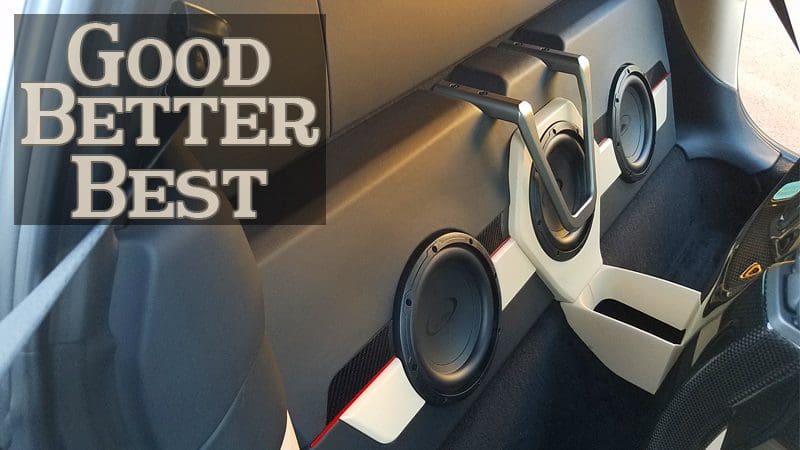
 Installing mobile electronics in a vehicle is a balance of technical skill and creativity. From the seemingly simple task of connecting wires to the creation of a custom amp rack or subwoofer enclosure, each task requires the car audio installation technician to call upon many different skills. When it comes to installing audio gear in your car, many retailers offer packaged solutions at different performance levels for their clients – this is often called the Good, Better, Best approach. In this article, we look at a few examples where this approach is commonly applied and examine the benefits for each.
Door Speaker Installation
It sounds simple, doesn’t it? Take off the factory door panel, unscrew a speaker, connect the new one, then screw it in place. Finish up by putting the door panel back on. For the average mobile electronics retailer, this would just barely qualify for a “Good” installation. With the speakers connected and installed, the installer typically will have a listen to the system before putting it all together to confirm all the wiring is correct. If you require a speaker adapter, the shop may offer to supply one made from painted wood or crafted from HDPE or ABS plastic. Always take the plastic adapter. Wood will swell up when it gets wet.
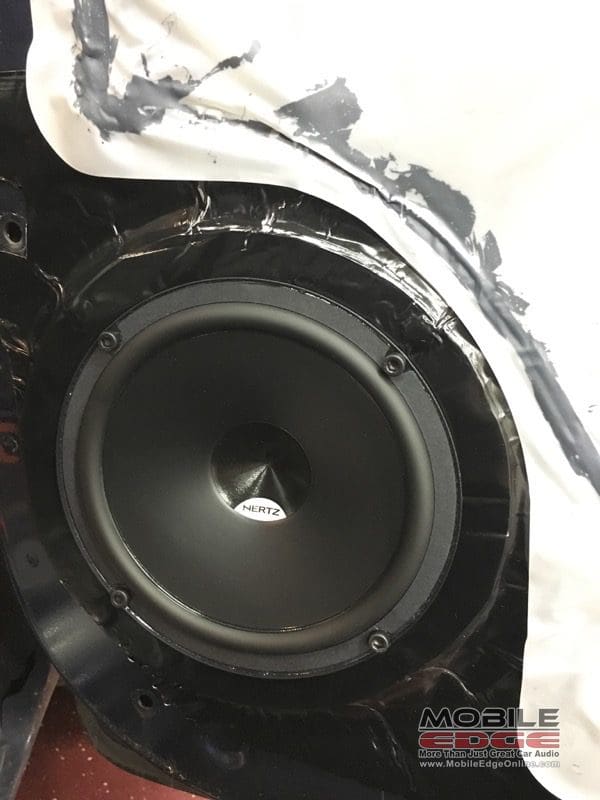
For those looking for a “Better” installation, several companies offer speaker mounting baffle rings. These are foam rings that surround the speaker and seal the mounting surface to the back side of the door trim panel. This ring can help with the transfer of sound energy into the vehicle and is likely to reduce the chances of buzzes and rattles. Your installer may also place a sheet of damping material behind the speaker – 12×12-inch pieces are common. This material helps to damp the metal to which the speaker is mounted and ensure there is no gap between the speaker and the mounting surface.
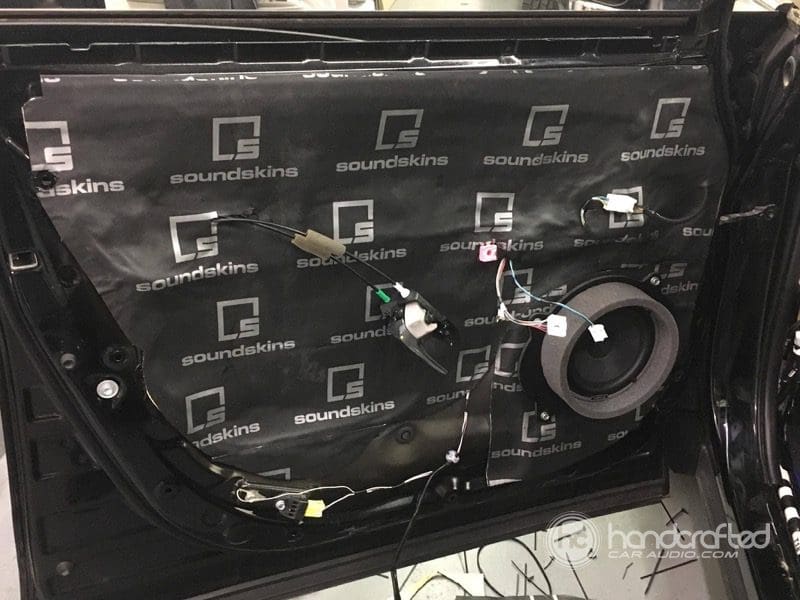
In a “Best” quality installation, the installer will cover the entire surface of the door in a high-quality damping material. Sealing up the access holes in a door panel can dramatically improve the low-frequency response and overall efficiency of the speakers you are having installed. In fact, money spent on proper damping offers a bigger gain in performance than an equivalent upgrade in the quality of speakers.
Several companies offer composite damping solutions that combine damping with a layer of closed-cell foam. This type of damping material offers a further reduction in buzzes and rattles, and improvement in sound absorption.
You may opt to have damping material installed on the outside door skin while the trim panel is off. Damping the outer door skin will further reduce the transfer of outside noise into your vehicle, making your audio system easier to enjoy. If you are using a moderate- to high-power amplifier, you may also opt to have new speaker wires run into the doors.
Subwoofer Enclosure
One of the first upgrades you should do to your audio system is to add a subwoofer. Almost every factory audio system, even one that includes subs, sounds anemic and weak.
When it comes to the choice of subwoofer enclosure, the options are nearly limitless. The most basic of subwoofer enclosure solutions is to pick a pre-fabricated enclosure from a catalog, have your installer install the sub and plunk it in your vehicle. This solution doesn’t qualify for our standard of “Good”, but it works, and it’s better than not having a sub at all.
Choosing to have your retailer design an enclosure specifically for the subwoofer you have chosen and the exact space you require moves us up to the “Good” standard. The enclosure should be made of 3/4″ MDF and finished in a material that matches your vehicle. It should maximize the available room in your vehicle reasonably well.
The move to the Better level may take different directions, depending on your vehicle. Fiberglass or Stack-Fab enclosures can further maximize the available space in your vehicle. If constructed correctly, these enclosures can be more rigid thanks to additional bracing. This bracing results in better performance. At the “Better” level, your installer may choose to incorporate some cosmetic accents. Including a trim ring around the sub in an accent material is pretty common.
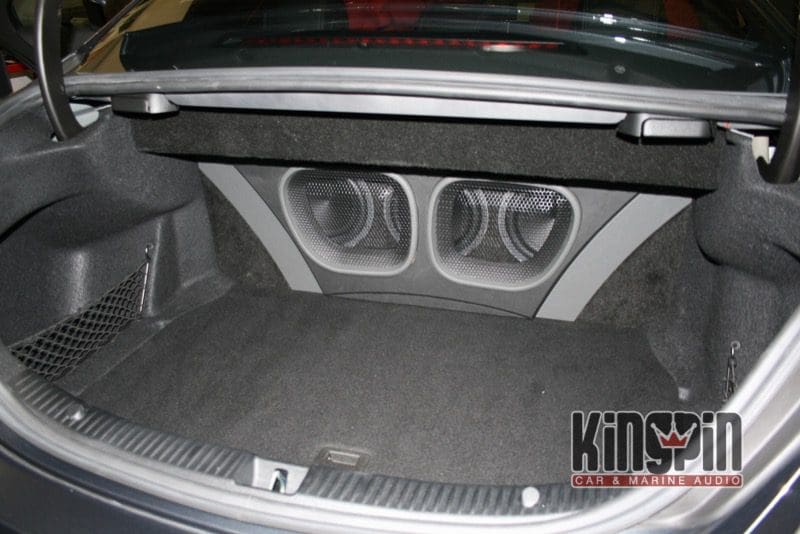
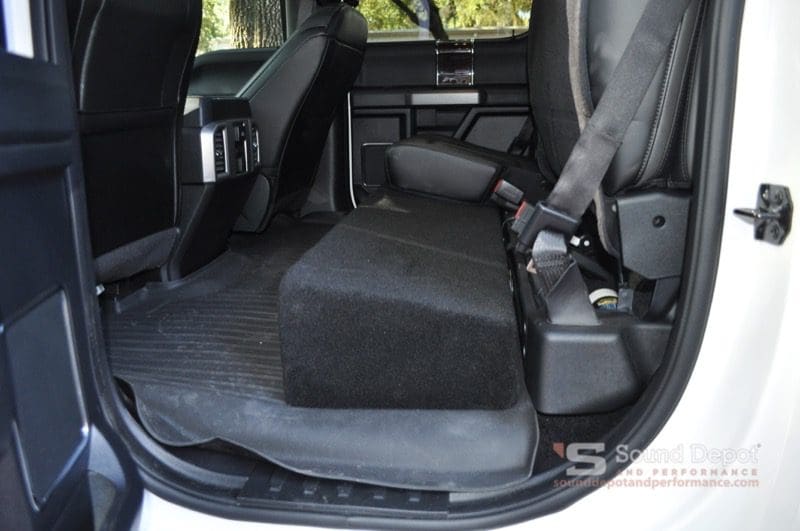
At the “Best” level, the enclosure design will be topnotch! Your installer may even choose to measure the Thiele-Small parameters of your subwoofer before starting work. The enclosure will be extremely rigid and well-reinforced internally.
Your installer may choose to line or stuff the enclosure with materials like Dacron or foam. Cosmetics will also take a leap forward at this level. Having the enclosure trimmed flush to the sides of the vehicle is a must to make it look like it came from the factory. Your installer may choose to use vinyl or leather on the visible parts of the enclosure to further improve the match with factory styling. A product or vehicle brand or logo may be incorporated into the design as well. At the Best level, anyone who sees the resulting creation should be immediately impressed.
Design and Cost
There is no limit to how creative your installer can get with the installation – it’s all governed by how much you want to spend. At the higher end, the installer may provide drawings or sketches of the finished product. You will probably have to pay for this design time. That said, many shops will credit some or all of that back to you as part of the final cost.
The top installers around the country charge upwards of $100 per hour for custom work or more. Their experience and creativity allows them to be very efficient in executing their ideas, and the work behind the scenes is often equally exemplary. Attention to detail for wiring, product mounting with Nutserts or stainless steel hardware, and proficiency in system design and tuning are all part of getting the Good, Better or Best value for your money.
Visit Your Local Specialist For Car Audio Installation
When it’s time to go shopping, drop by a few of your local mobile electronics specialist retailers. They would be happy to show you different options for your project.
This article is written and produced by the team at www.BestCarAudio.com. Reproduction or use of any kind is prohibited without the express written permission of 1sixty8 media.